I was looking to add another PIR to my collection of Raspberry Pi gadgets.
I have an old Glade Sense & Spray air freshener and thought: “there must be a way I can reuse this to use the built in PIR.
And so I tinkered.
And it couldn’t be easier, you only need:
- 1 x “old” Glade Sense & Spray air freshener
- Some wires for the connection to the RPi1 x “old” Glade Sense & Spray air freshener
- A soldering iron to melt the lead on the printed board and solder your own wire
Best of all, you won’t need batteries to run it anymore, since the RPi provides +3.3V (and the original set up was using 2 x 1.5V AA batteries)
Second bonus, you get a visual notification of the movement via the built in LED.
Instructions:
- Open the box, remove the old spray cartridge and batteries
- Unscrew the back plate
- Remove the shafts and the motor
- Unclip the board
- The connection to solder your wire to is shown below
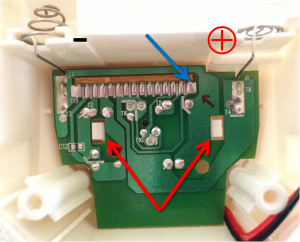
Inside view of the Glade Sense and Spray
Note the red arrows showing the clips, the blue arrow showing the pin to connect to and the – and + signs to power the PIR
From then on, simply solder a wire to the connection shown. Be careful not to create a short circuit with the other pins.
Once done, you can connect the wire soldered on the blue arrow pin to one of the Raspberry Pi GPIO pins.
The pin will receive a status of 1 when movement is detected, 0 otherwise.
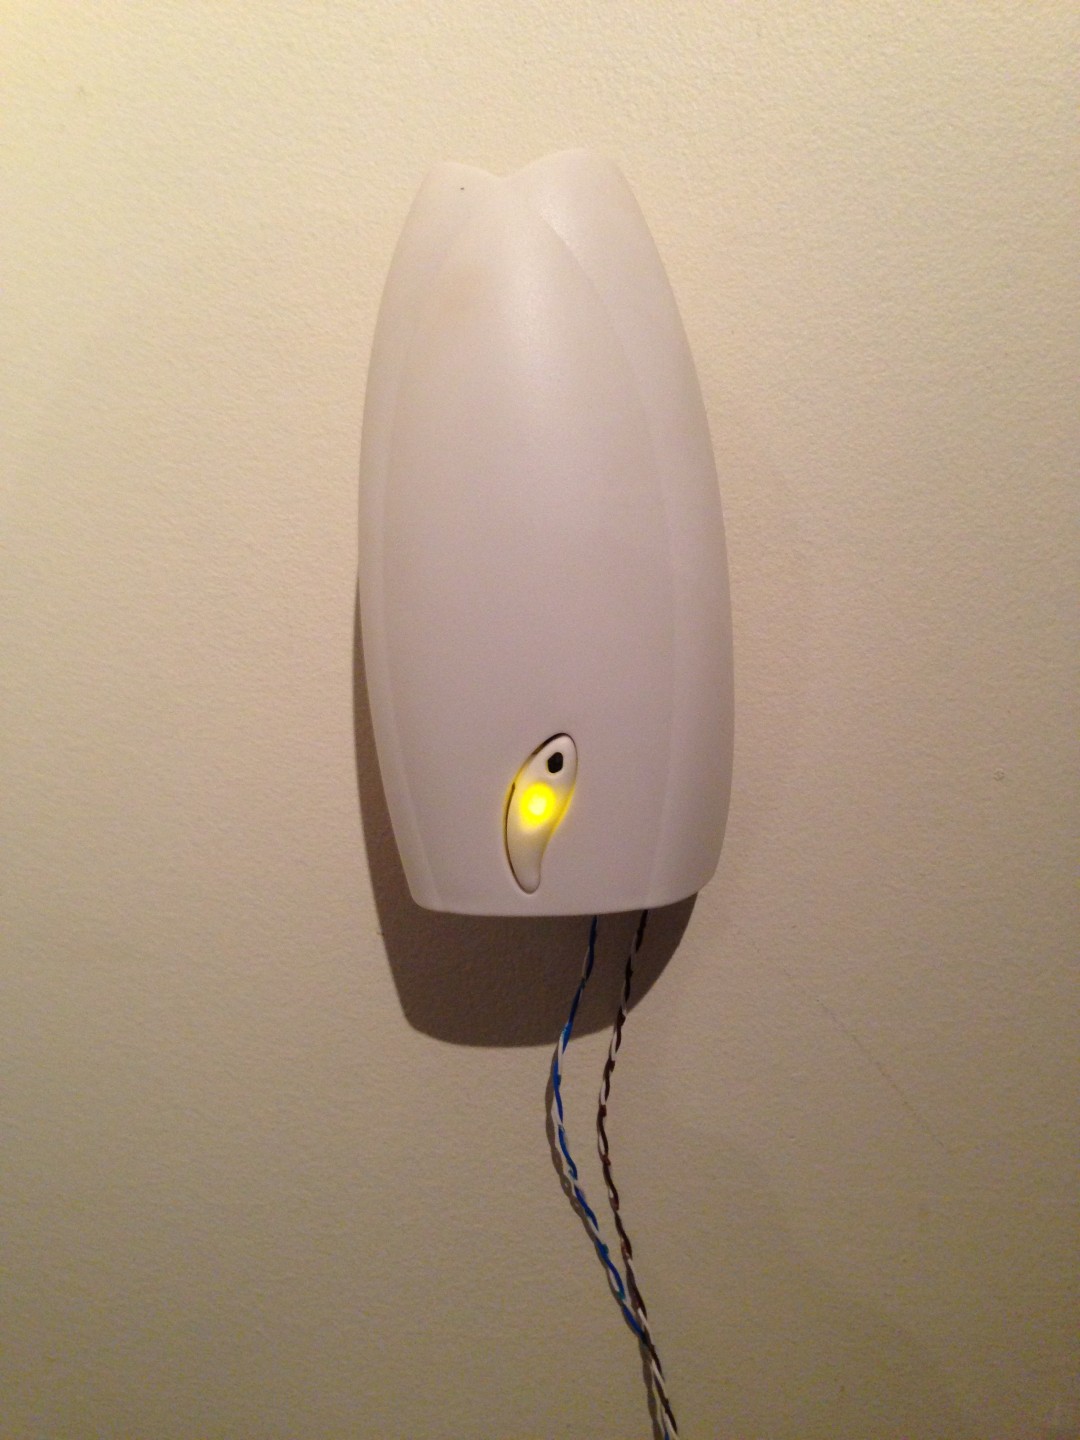
See picture of final “product” on my wall:

Glade PIR on the wall
Important Note: Once movement is detected, the status received at the Pi will remain on 1 until the pre set time out (~20 min) has elapsed. It is unfortunately not possible to amend this time out. I’m guessing one of the 2 capacitors affects the time out, so removing it and replacing it with a smaller one could reduce the time out, but I’m not sure. I’m just guessing. Feel free to comment if you have managed to achieve a shorter time out.
Edit (15/02/2013): Now that it’s all up and running, I realised that although I called it a PIR (and I’m using it as one) and even though this is what it was designed for, the sensor actually measures the change in light conditions. Some of the drawbacks are that it won’t work at night and that a sudden change in lightning conditions, even without movement will trigger it. If you want a real PIR, I suggest this one which works really well with the Pi: Tandy Archer PIR Module Sensor